The background plays a key role in portrait photography: it can emphasize the beauty of the model, add depth to the shot, or, conversely,
ruin the entire picture if unwanted elements get into it. Professional photographers know that you shouldn’t leave “extra”
How to choose and organize a background for a portrait
If a location doesn’t seem interesting, don’t be too quick to dismiss it – try analyzing it through
your camera’s viewfinder. Often, a background that looks boring at first glance can become perfect with the right angle.
Don’t limit yourself to a horizontal view – pay attention to what’s above or below. For example, shooting from the bottom
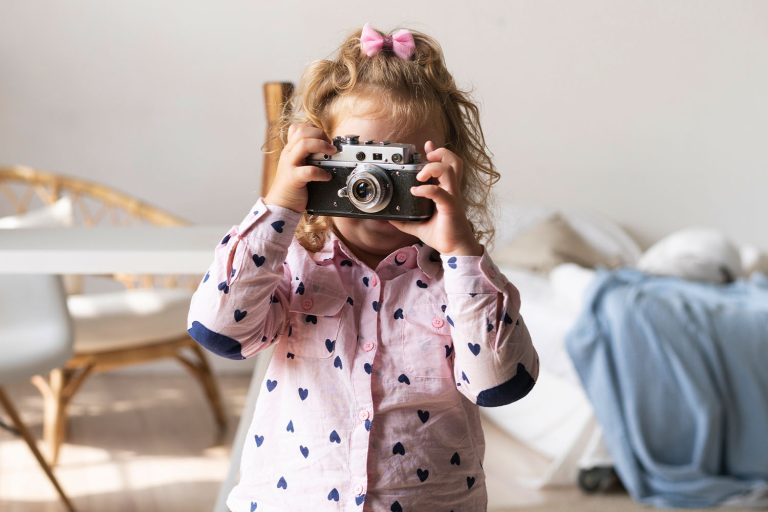
It is important that the background is in harmony with the model but not distracting. Avoid bright or chaotic elements, such as
Use bokeh to accentuate the model
Bokeh is a background blurring effect that allows you to separate the model from the background and focus the viewer’s attention on her face.
To achieve distinct bokeh, use lenses with a wide aperture (e.g. f/1.4, f/1.8, or f/2.8). The
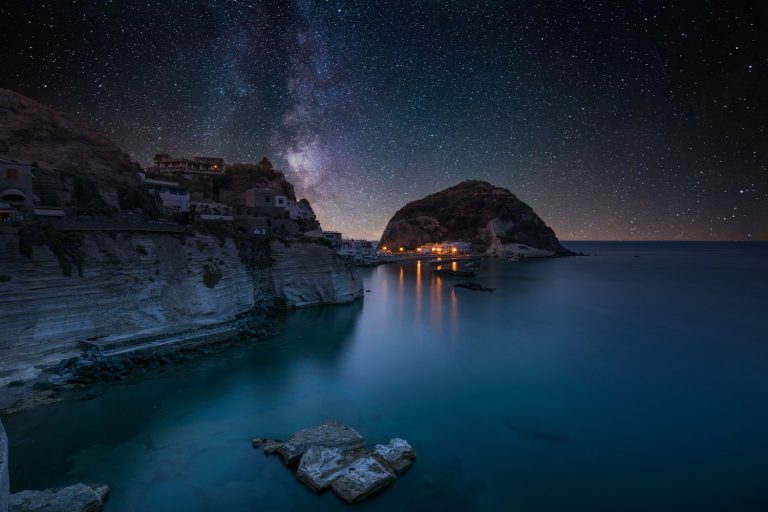
To create bokeh, choose locations with natural elements that blur well, such as tree leaves,
city lights at night, or water. For example, shooting against a forest backdrop with soft evening light can create a magical bokeh with rounded
Working with exposure and backdrop
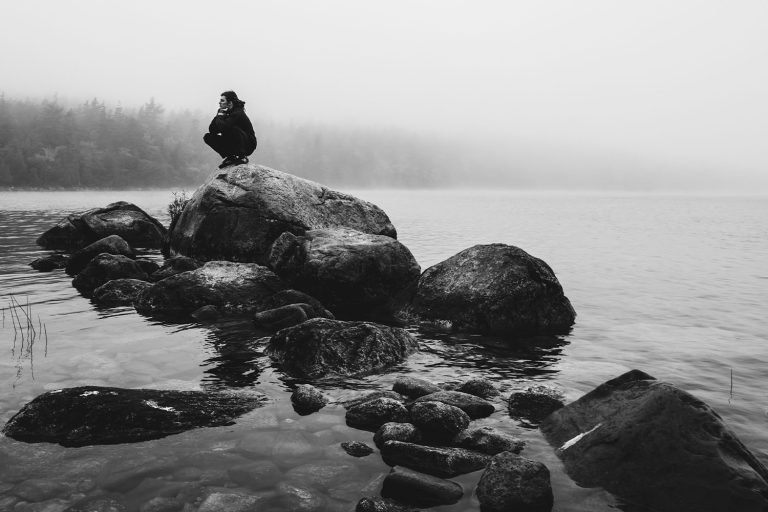
Proper exposure is the key to a harmonious portrait. One effective technique is to place the model in the shade and
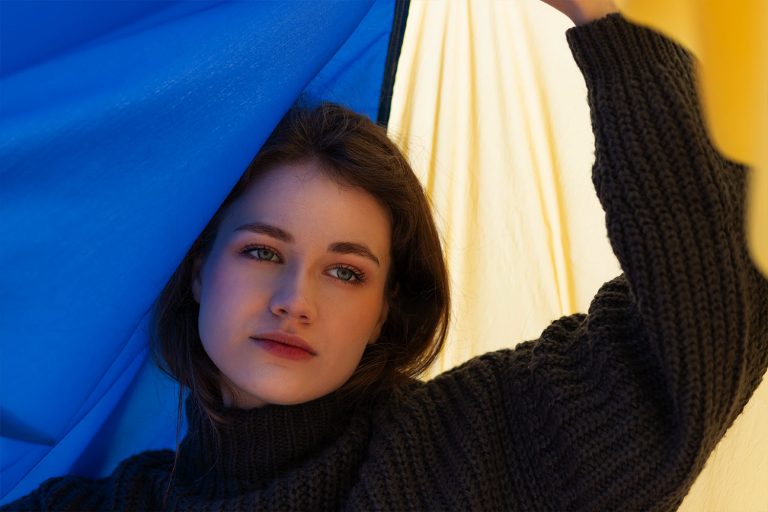
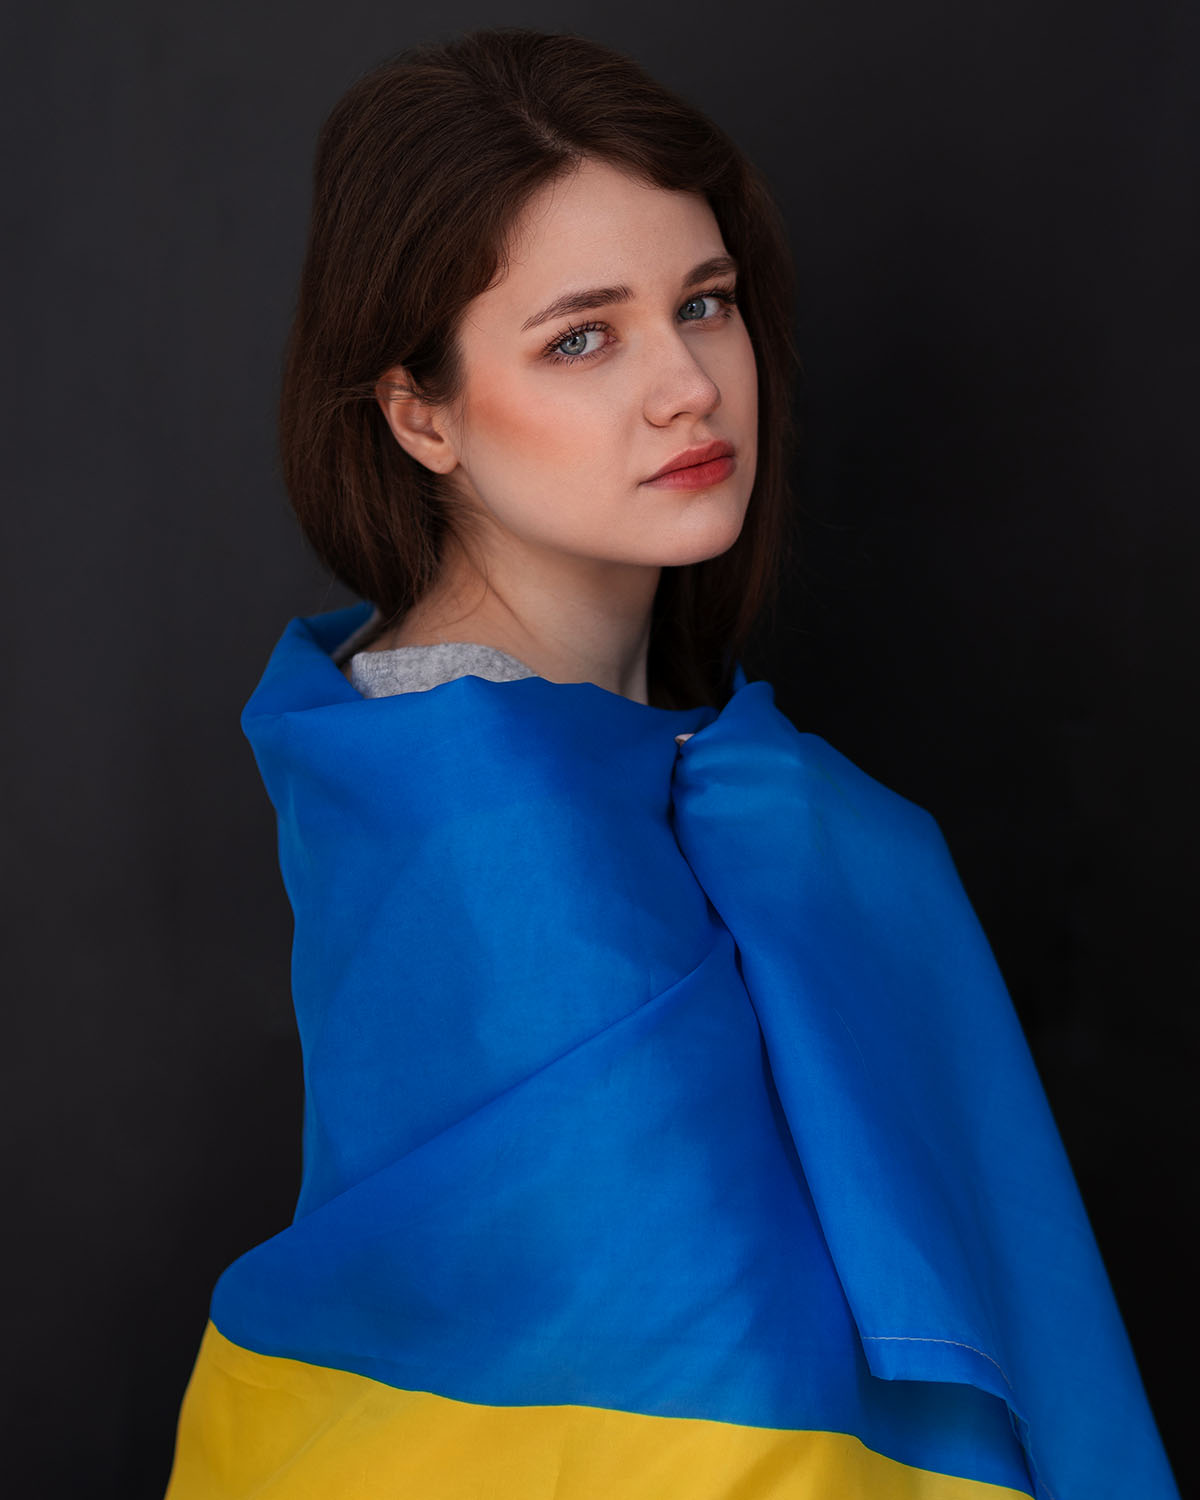
Remember that the human eye perceives more details and colors than the camera, so always check the image on the screen. If the difference in lighting between the model and the background is insignificant, use a backdrop – a piece of fabric that harmonizes with the image. For example, a plain fabric of a neutral color (gray, beige, or pastel) can be a universal solution. Be creative in choosing a backdrop: it can be clothes, a blanket, or even a curtain. It’s best if the background color emphasizes the model’s features, for example, blue sky or green for blue and green eyes, or wooden textures or sand for brown eyes.
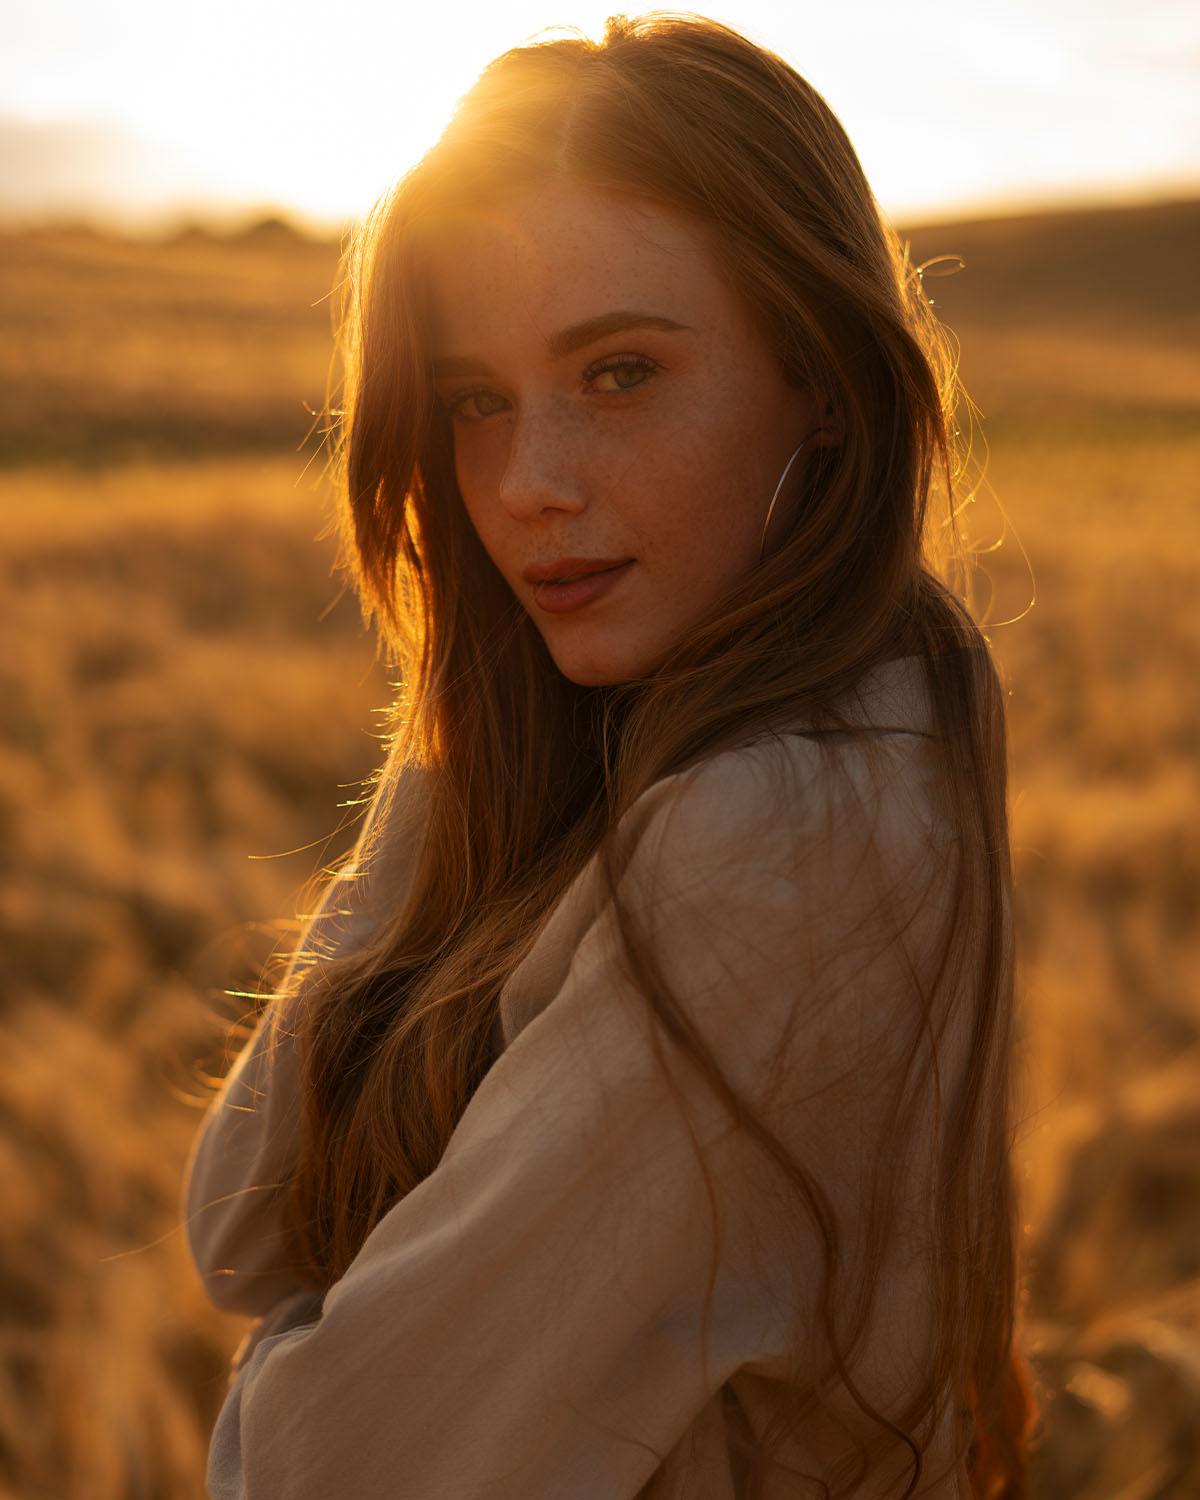
Once considered a mistake, sun glare has become a popular element in portraiture, especially in
romantic shots. If you’re shooting against the sun, use the glare as an accent, but don’t make it the central
Distance between the model and the background: how it affects the picture
The distance between the model and the background is one of the simplest but most effective ways to control the shot. If you move the
If the background itself is interesting and complements the model’s image (for example, historic architecture or a beautiful landscape), bring the model closer to it. In this case, use a light blur to preserve the details of the background but not let them distract you. For example, an aperture of f/2.8 or f/4 will help keep the background recognizable but not too sharp. Experiment with the distance to find a balance between the clarity of the model and the expressiveness of the background.
Creating the perfect background for a portrait is an art that combines technical skills and creativity. Choose a background