Indoor photography, especially in low light, requires not only technical knowledge but also creativity. The lack of natural light makes it difficult to create high-quality shots, but the correct use of equipment and shooting techniques can provide impressive results. In this article, we’ll look at how to work in low light conditions, how to set up your flash, choose your equipment, and consider important details such as background and color to make your photos look professional.
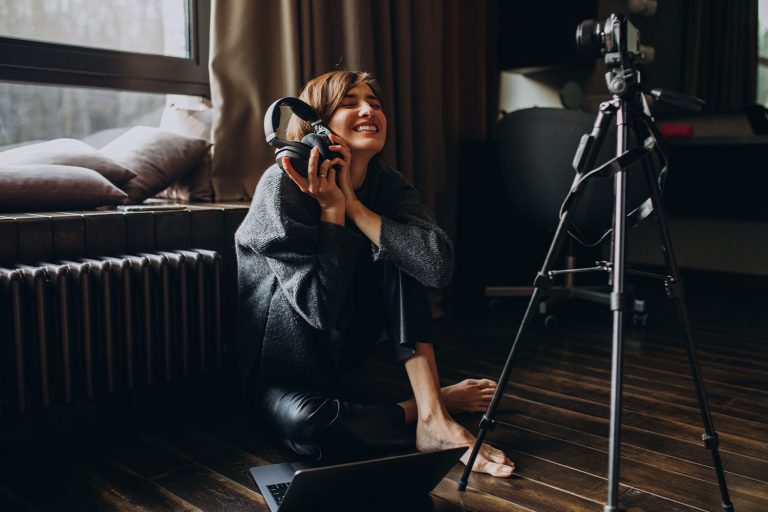
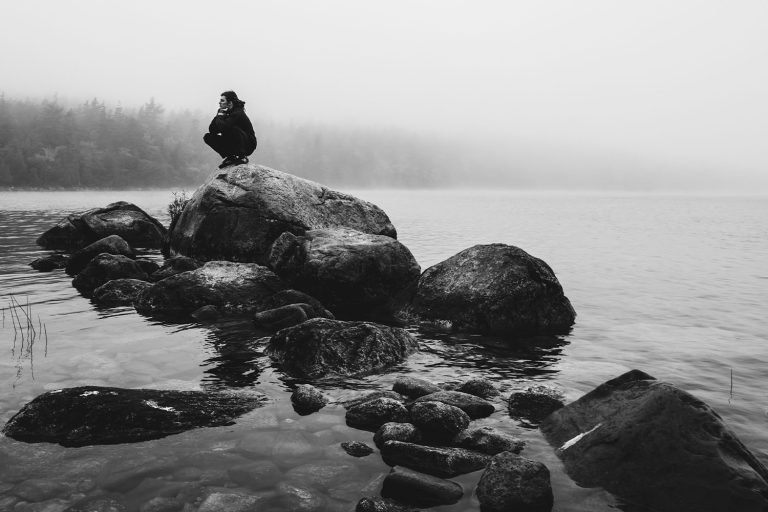
How to shoot in a dimly lit room
Shooting indoors without natural light is always a challenge.
One of the main challenges of shooting indoors is the balance between digital noise and frame clarity. Many people mistakenly
The first step in a poorly lit room is to increase the shutter speed to the fastest possible value that won’t cause
blur due to subject movement or camera shake. To do this, use a tripod or a stable surface. Digital
Using the flash correctly
The flash is an indispensable tool for indoor photography, but it needs to be used wisely. If you just turn on the flash in the default mode, you risk getting an unnatural shot with harsh shadows and a “flat” face against a dark background. The flash should be viewed as an additional light source that fills in shadows and gently illuminates the subject, not as the main light source.
The best mode for indoor flash is slow sync, particularly on the back of a curtain. This approach
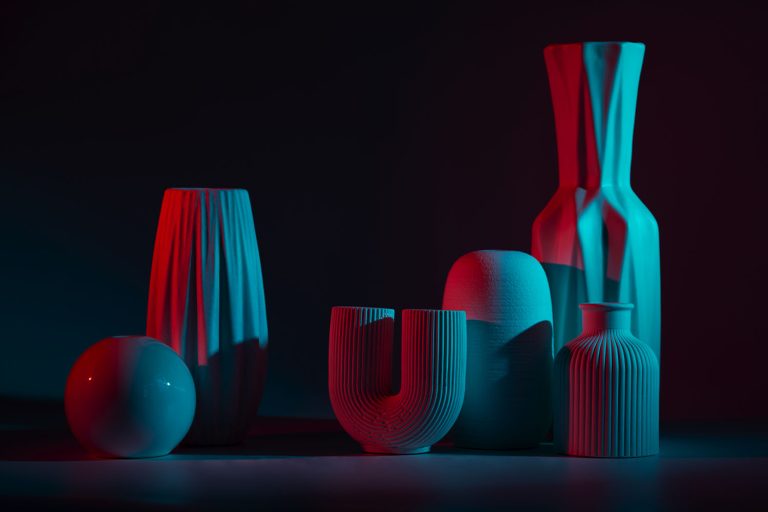
Another important aspect is the color temperature of the light. A flash provides neutral lighting close to daylight, but other light sources in the room can create shades. For example, incandescent light bulbs add a warm yellow tone, while fluorescent bulbs add a cool greenish tone. To avoid color imbalance, adjust the white balance manually or use gel filters on your flash to help harmonize the hues. If you’re shooting in mixed lighting, experiment with the settings to find the best option.
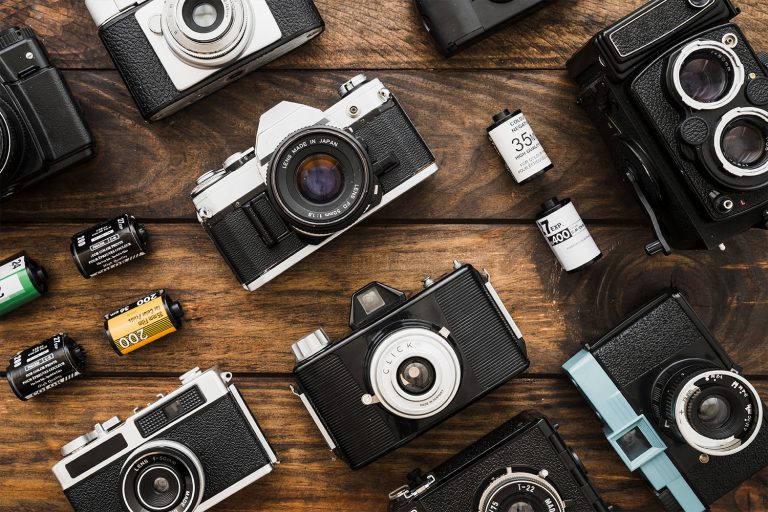
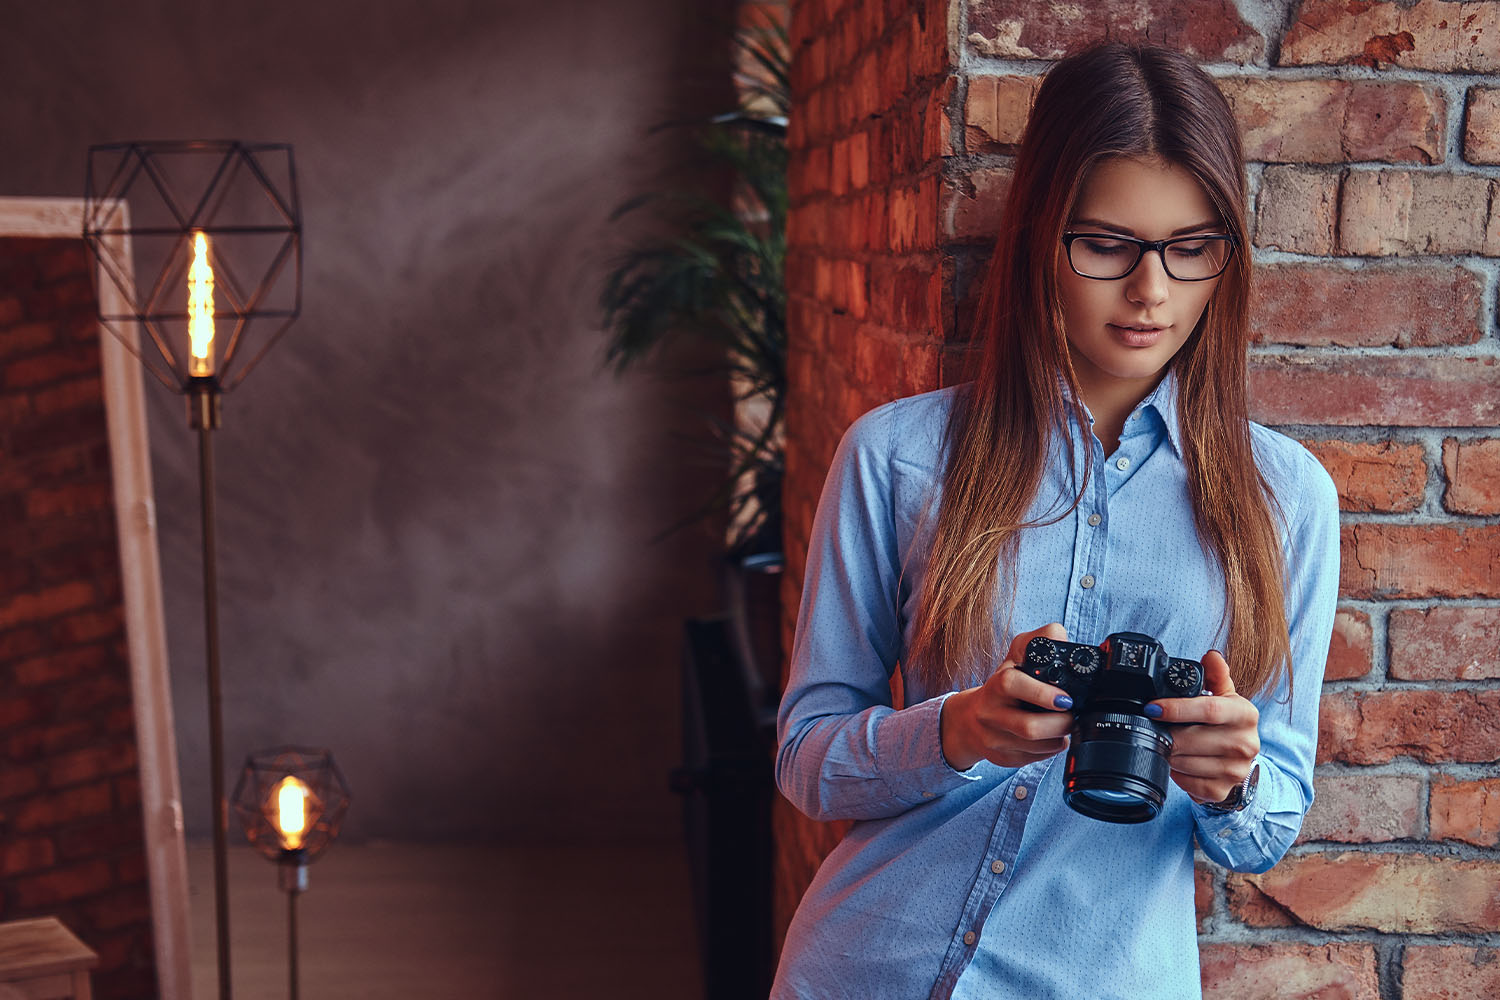
How to choose equipment for indoor shooting
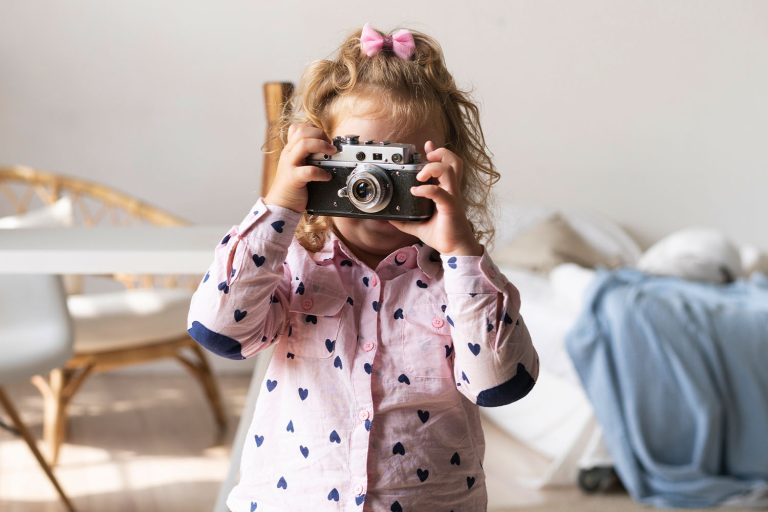
The choice of equipment depends on your goals and shooting conditions. A compact camera or even a modern smartphone is enough for home shooting or creating photos for a family album . Such devices are easy to use and suitable for beginners who are not yet ready to move to a professional level. Compact cameras are convenient because they don’t require complicated settings and allow you to quickly get an acceptable result.
For professional shoots, such as press conference or event reporting, you need better equipment. DSLR or
If you are just starting out, it is better to focus on improving your skills rather than buying expensive equipment. Learn the basics of exposure, composition, and working with light. For example, try shooting in different conditions – in natural light by a window, with a single artificial light source, or with a flash. This will help you understand how the equipment reacts to different settings and determine what kind of equipment you need for your future goals.
Indoor photography is a combination of technical knowledge and creativity. Even with a budget camera, you can get great results if you set up the flash correctly, take into account the background and color temperature. For professional shots, high-quality equipment simplifies the work, but it won’t save you without skills. Experiment, learn the capabilities of your camera and don’t be afraid to try new techniques – this is how you can create images that will impress with their quality and atmosphere!