/

29.04.2016

How to take pictures at night: technical nuances and creative experiments

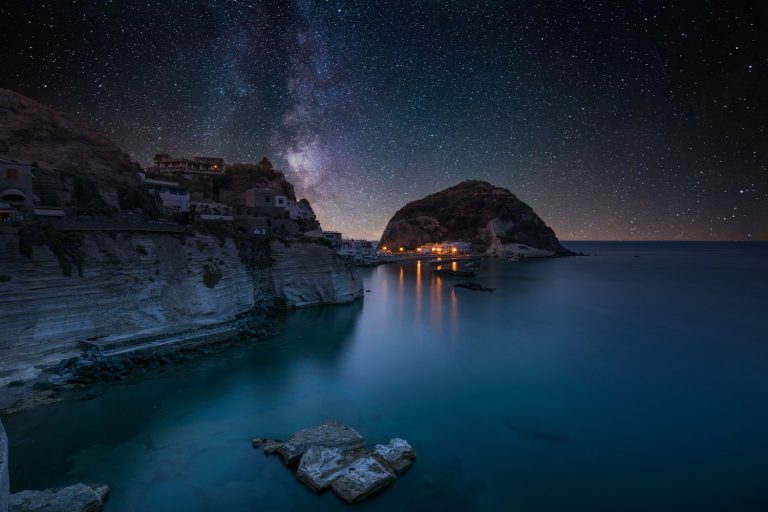
Night is the perfect time to take unique and atmospheric photos. City lights, the starry sky, parties, or the sunset can be the basis for impressive shots. While a high-quality camera helps, the key is knowing the basic rules of night photography. In this article, we’ll cover technical aspects such as using the flash, sensitivity settings, and stabilization, as well as share tips for experimenting to make your night shots strikingly clear and emotional.

Technical nuances of night shooting

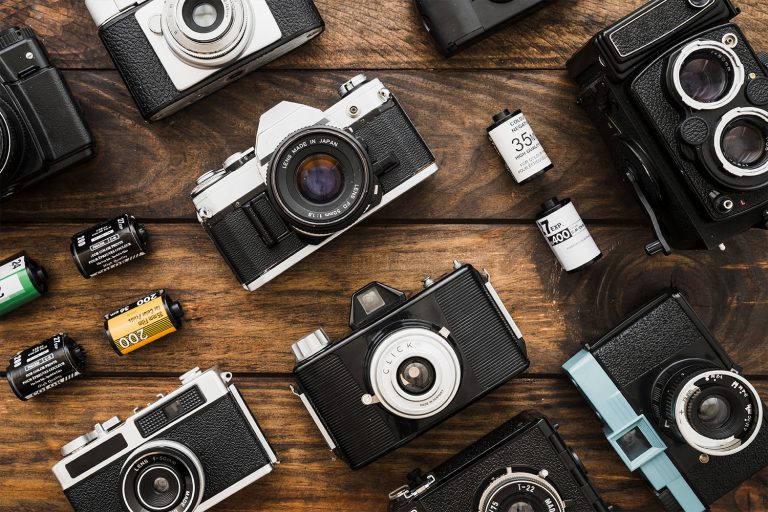
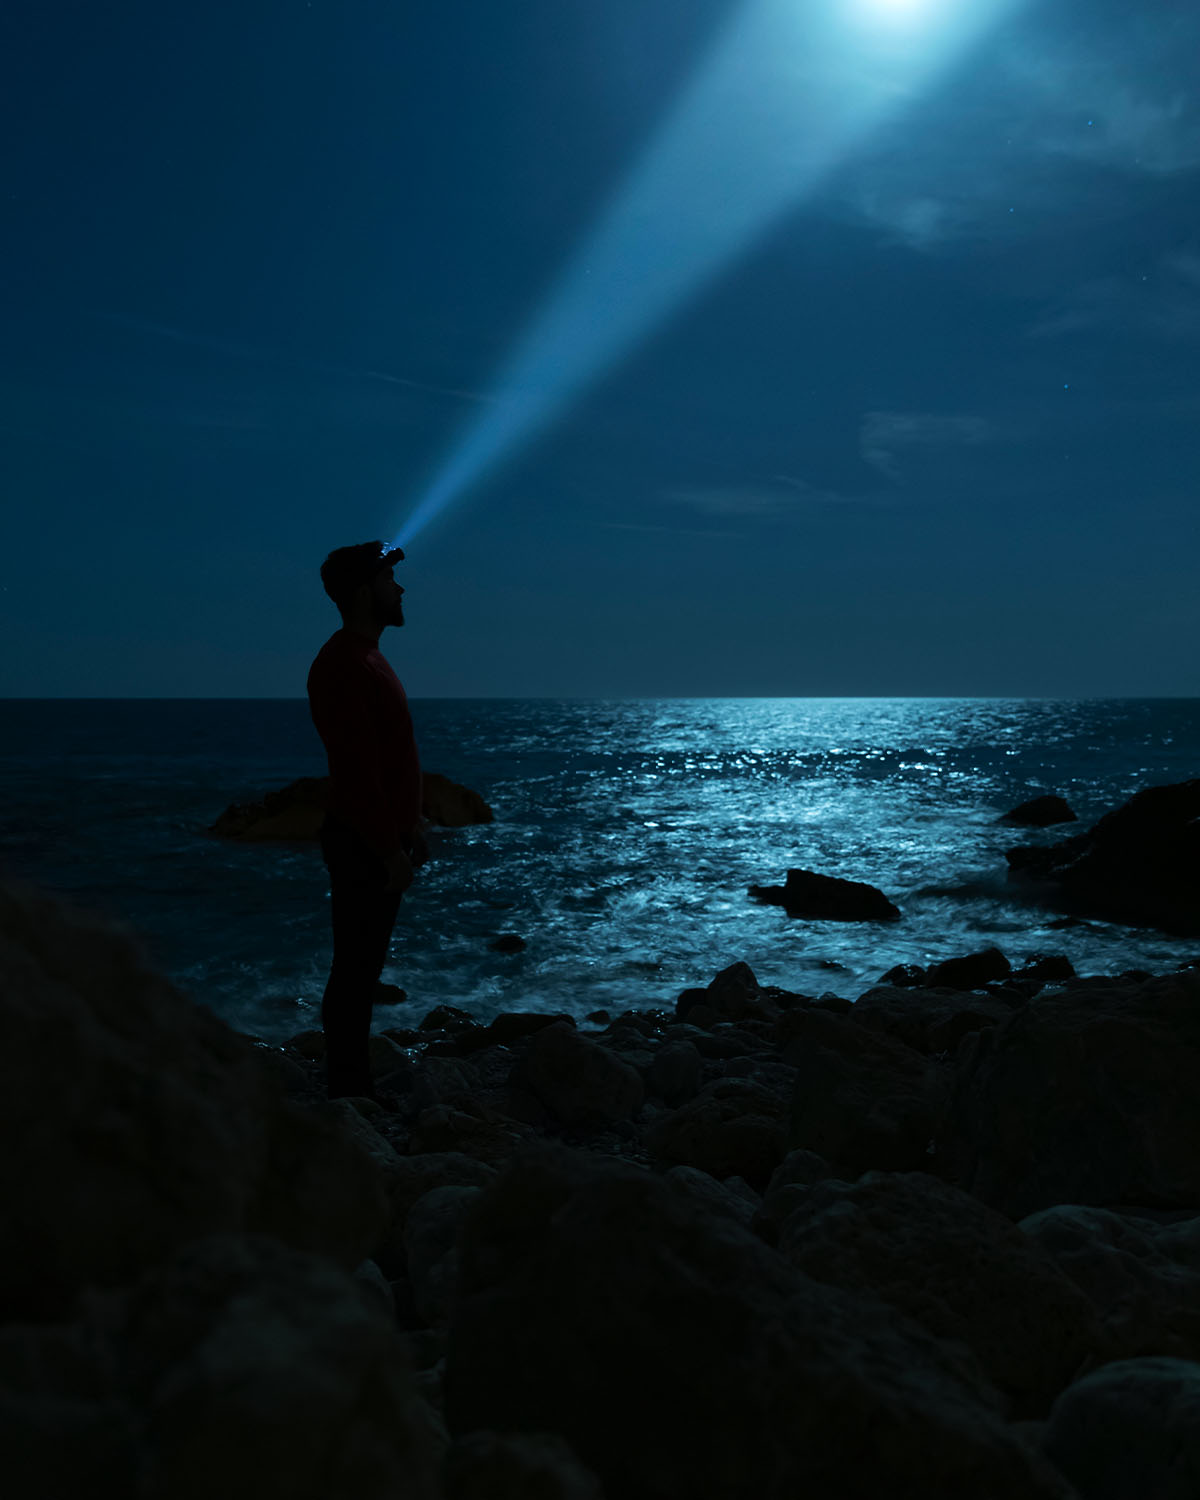
For night photography, additional lighting is a must. A built-in or external flash allows you to illuminate objects in the foreground, avoid blurring and red-eye. The optimal distance for the flash is from 1.5-2 to 5 meters: closer and the picture will be overexposed, further – there will not be enough light. If you don’t have a flash or want creativity, use alternative sources: flashlights, car headlights, campfire or reflections of city lights. Direct such light into the background to create depth and clarity. For example, an illuminated background behind a model will add volume and make the shot more expressive.

ISO sensitivity is a key setting for night photography. To reduce digital noise (graininess), set the ISO to the lowest possible value that the camera will allow in the given conditions (usually ISO 100-400). However, in complete darkness, you may need ISO 800-1600 or higher – a balance between noise and clarity is important. Modern cameras with a large sensor are better at handling high ISO, so if you have a budget camera, avoid overly increasing the sensitivity.

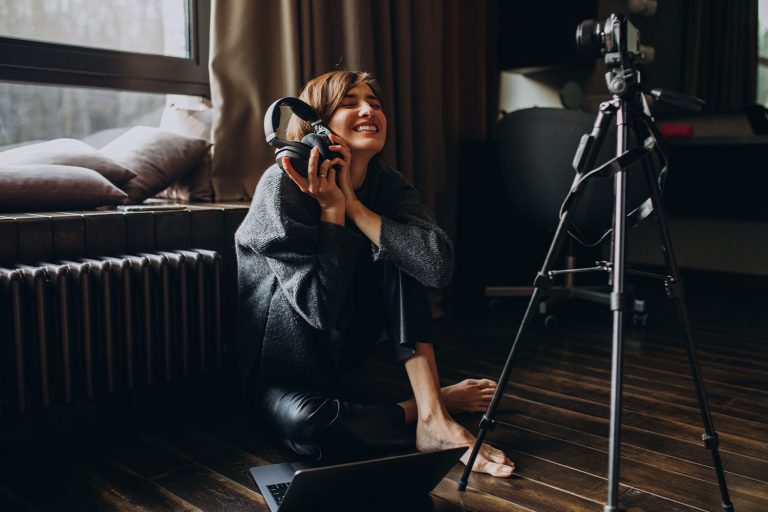
Camera stability is the key to clear images at long shutter speeds. A tripod is ideal, but if you don’t have one, lean against a wall, pillar, or any stable surface. Most cameras have an automatic shooting mode with a timer or stabilization to help avoid shake. Set the timer for 2 seconds for static shots – this gives the camera time to calm down after you press the button. If you’re in the frame (for example, taking a selfie), increase the delay to 10 seconds.

Setting up and avoiding mistakes

Avoid compressing your images (JPEGs with low quality) – this reduces detail, especially in the dark. If you run out of memory, make sure you have an extra card in advance. Shoot in RAW format if possible: this preserves the most information for processing. Digital zoom is also not suitable for night photography – it only worsens the quality. Instead, get physically close to the subject (optimally 2 meters) or use an optical zoom.

Make several takes of the same shot with different settings to increase your chances of getting the perfect shot. For example, vary the shutter speed (from 1/60 to several seconds), aperture, and ISO. Avoid automatic mode if you want control: switch to manual (M) or shutter speed priority (Tv/S). For cityscapes, use a slow shutter speed (5-30 seconds) on a tripod to capture the light trails from cars or stars.

Experiments and creativity in night photography

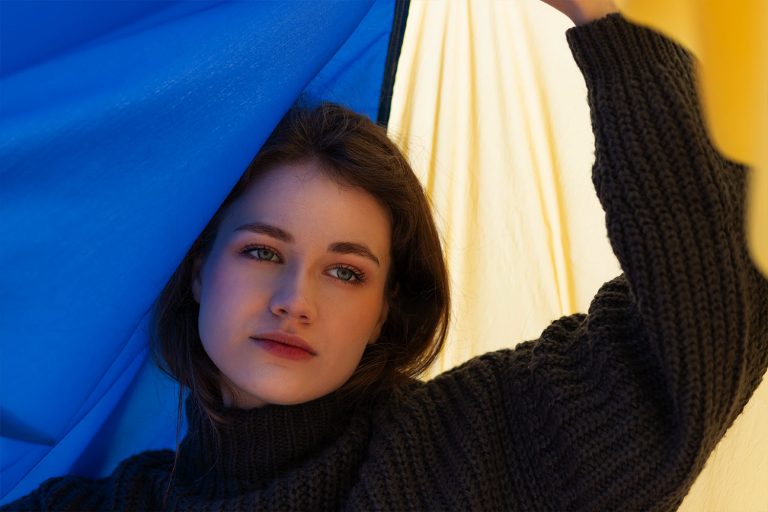
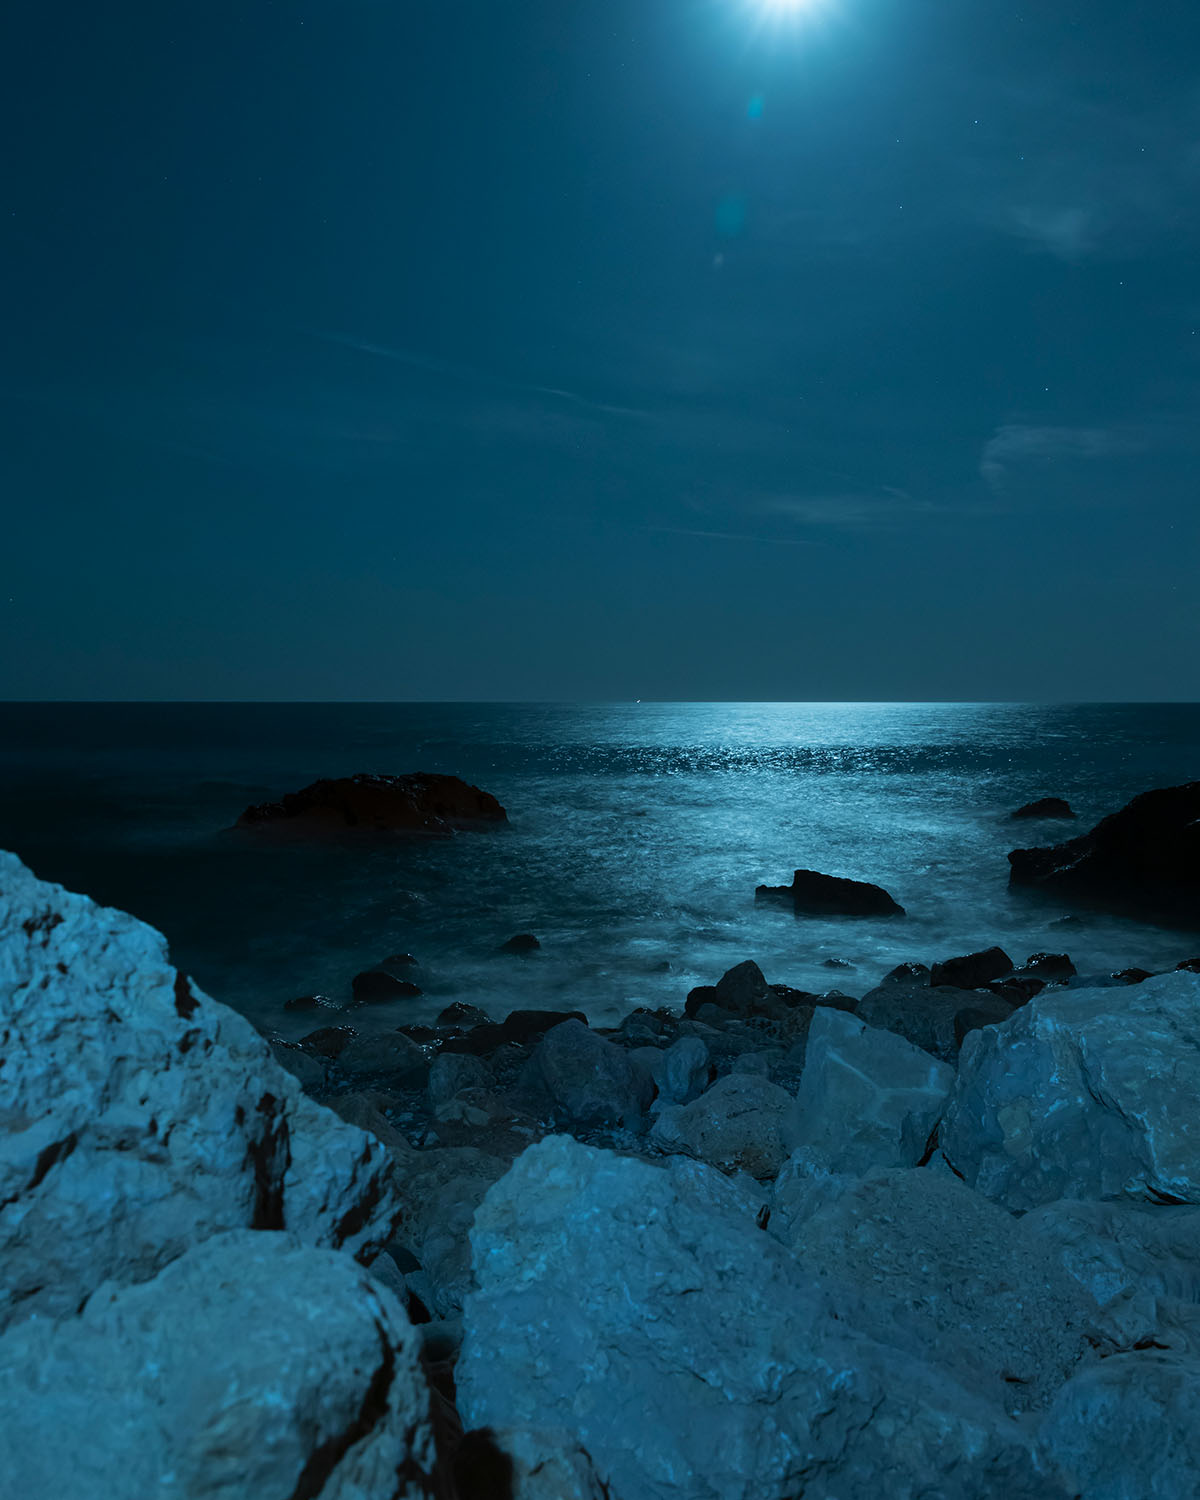
Night shots are an ideal field for experimentation. Break the rules: for example, intentional blurring from movement (light streaks from headlights) can become an artistic effect. Try light painting: move a flashlight in front of the camera with a long shutter speed, painting with light. Or shoot a silhouette against a bright background, such as the moon or neon signs.

Alternative lighting adds to the uniqueness: the fire of a bonfire creates warm tones, street lamps create dramatic shadows. For parties, combine the flash with ambient light to preserve the atmosphere. Don’t be afraid of noise at high ISO – in black and white, it can add a vintage charm.

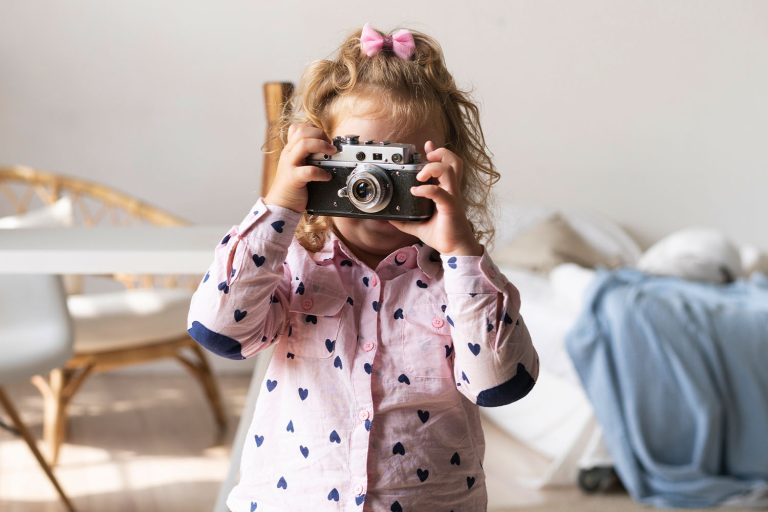
For beginners, the rules may seem complicated, but practice makes perfect. Start with simple scenes: sunset, city lights, or portraits with a flashlight. Over time, you will learn to predict the result and create shots that violate the rules but are striking in their beauty.

Night photography is a combination of technique and creativity. Armed with a flash, the right ISO, and stability, you get sharp pictures. But the real magic is in the experimentation: play with light, movement, and shadows. With practice, your night photos will become not just snapshots, but stories full of emotion and atmosphere that you can be proud of and share with friends!

Ще цікаві статті з нашого блогу